To start using Shiprocket, the first step towards shipping your products is to process orders. Shiprocket also gives you an efficient platform to manage your orders and ship them easily.
To process orders successfully, you need to follow a few steps to avoid any additional roadblocks. Let’s see what the steps are and how you can Leveridge Shiprocket for your eCommerce business.
You can integrate channels like Shopify, Bigcommerce, Woocommerce, Zoho Commerce, various marketplaces like Amazon, eBay. All in all, you get to integrate with 12+ channels to synchronize your incoming orders. The order status is synced every 15 minutes so you don’t miss out on any incoming order.
But, if you want to manually add orders, you can do so with the ‘Add Order’ option.
Go → ‘Orders’ → ‘Add Order’
Type in the buyer details, buyer address, order details, pickup address, and package weight. Click on Add order and save this order.
In case, you have several orders, you can use the ‘Bulk Import Order’ feature and easily import orders in the form of a .csv file. You can download the sample file to note down the exact format for easy import of orders.
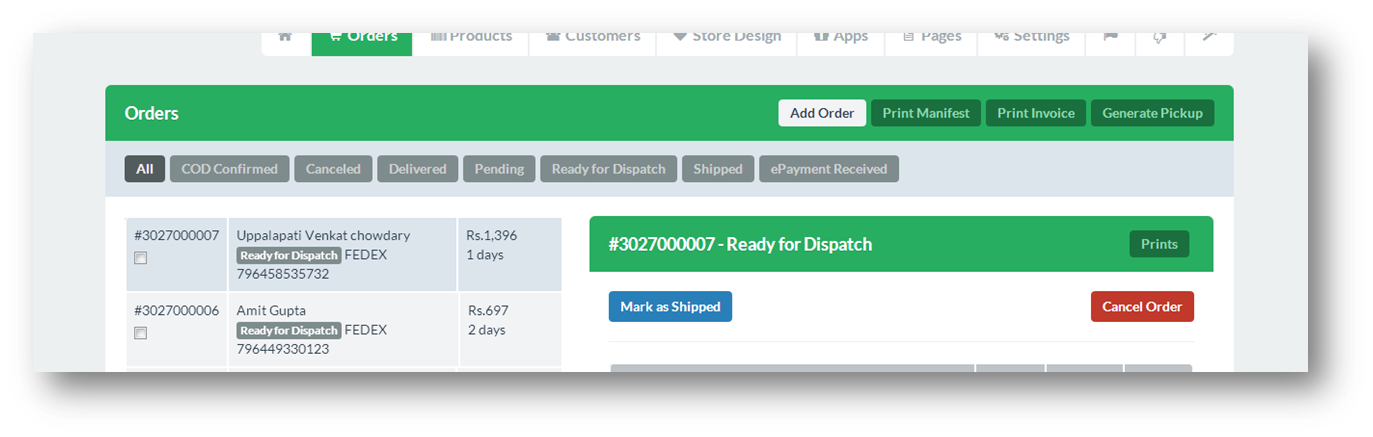
After you have imported all the order in your Shiprocket panel, follow these steps:
Go to → Orders → Process Orders
In the Processing Tab, cross-check all details of the order and click on ‘Ship Now’
You can also choose multiple orders and bulk process them in one click.
Next, you will get a list of available courier companies, based on the pickup and delivery pin code serviceability. You can choose any one of them and ship products through your preferred company.
Once you select your courier company, your order will move to the ‘Ready to Ship’ tab. From here, you can download the invoice, label, and manifest and also schedule a pickup for the order.
As soon as you assign a courier company from Shiprocket and schedule a pickup, you will get an AWB number. AWB or Airway Bill is used to track the shipment and show its delivery status.
If you want to fulfill your orders partially, you can choose the split shipment feature, and you can split the manual orders and process them as separate shipments in the Shiprocket panel.
Here is how you can enable Split Shipment
1. Log in to your panel and go to “Company” settings.
2. Locate the “Shipment Settings” tab at your bottom left corner.
3. Turn the toggle on to activate “split shipment” for your account.
The shipping label will look something like this –
Properly pack the product and attach this label to the order.
After your product is ready to be shipped, generate the pickup from the orders tab.
Once your pickup is scheduled, the order will move to the manifest tab. Here you can download the manifest of the order.
There are several ways for generating your manifest.
The manifest will look something like this –
Once the pickup has been generated, you can easily track order status from your Shiprocket panel. You will also be notified through email, as soon as the order status changes.
Processing orders on Shiprocket is an extremely simple task. Just follow the steps above to get started and process your orders on the go!
Got any queries regarding Shiprocket? Drop a comment below, or raise a ticket at support@shiprocket.com. Happy Shipping!
What Are Ecommerce Sales? Ecommerce sales refer to the revenue generated through online transactions across…
More than 80% of global trade by volume moves by sea. When key sea shipping…
Introduction Global trade depends heavily on marine shipping. From raw materials and industrial equipment to…
Introduction Global trade relies heavily on ocean shipping to move goods between countries and continents.…
Introduction In today's interconnected world, sending goods across borders is more common than ever. Air…
If you are starting an online business with limited capital or no storage space, dropshipping…