Product Photography: Key Tips for Perfect Product Photos

When consumers buy online, they perceive the value of the products and judge the brand through its visual representation. This indicates the value of having high-quality and enticing product photography.
Not every eCommerce retailer can afford to invest in professional product photography services, especially those who have just started an online business. For them, DIY photography is an excellent alternative, provided they know product photography tips and techniques.
By product photography, we don’t mean aesthetics only. High-quality images can also be the reason behind low sales and conversion. This especially matters if you are selling products on online marketplaces where your products are showcased along with the competitor’s products. We mean it when we say that the perceived value of the product is directly related to the image quality.
When you start a business, you may not want to opt for professional services as they might come expensive. There are many tools that you can employ to help yourself with product photography. In this blog, we shall discuss several tips to make things easier for you.
What is Product Photography?
Product photography is a technique of showcasing products attractively and enticing potential consumers to make a purchase. Product images play a pivotal role in a customer’s decision-making process, ultimately impacting the conversion rate.
It is an essential part of both online and offline advertising. The product photographs are used in brochures, catalogues, billboards, online ads, and company websites.
Types of Product Photography
Product photography is not something that remains constant. Just like any eCommerce store would feature an array of products and services, the pictures you use to advertise them also come in different styles, each having its purpose. You can choose to maintain consistency or mix and match in harmony to understand the difference between every type of product photography and find what suits your needs best.
Here are some of the different types of product photography:
- Individual shots
The individual product shot is probably one of the most common types of product photography. It only has a shot of the object in its frame. It focuses solely on the features and appearance of that product. These shots are taken for catalogues, magazines, banners, posters, etc. It highlights the sellable aspects of a specific product within the collection.
A brilliant example is one from the popular brand of electronic accessories, Skullcandy. They have shot their products with a simple and clean white background to highlight the features of the product.
- Group shots
Just like the name suggests, group shots showcase multiple products together in a single frame. They are used to showcase together bundled products, hampers, collections, etc. They give the viewer a sneak peek of the entire range of products within a specific collection. Such images are perfect while marketing combos and hampers. They can also be used in social media posts and advertisements to represent the entire offering your brand provides.
- Lifestyle shots
A picture that shows off your product as an experience is known as a lifestyle shot. It showcases your product or service in use. These shots can even showcase a model using your product and they tend to tell the viewer a story about your product and the experience it provides. Lifestyle shots help you compliment the individual shots of your products. They are perfect for social media marketing, email campaigns, advertisements, and for use in other visual channels. They are captivating and help you give a more personal touch to your product.
- Scale shots
Scale shots are shots that allow you to depict the actual size of your product on a picture. The biggest problem with online shopping is that you cannot exactly picture the size of a specific product. Despite the description, a visual aid will help you understand better, after all a picture speaks a thousand words. Scale shots are added to an eCommerce platform to enable the customer to make an informed decision by seeing the physical features of a product before making a purchase.
- Detailed shots
Detailed shots are simply what the name suggests. They give you a view of the product in detail. They enable the viewer to gain a closer look at the intricacies of the product. Such shots are generally taken for jewellery or furniture that have small and delicate detailing. They allow you to showcase the more subtle features of the product that might not be visible in a regular shot. Light and camera settings are crucial to take such images to ensure that the product details are very clear.
- Packaging shots
The packaging matters to the consumer. It is all a part of their unboxing experience. It shows the consistency of shopping with a specific brand. Thus, despite an incredible product, if the packing is lacking, your customers might not consider your items on the top shelf. When a parcel comes with good and customised packing, they receive a complete experience. Hence, packaging shots are taken to showcase the outer packing of the product including labels, tags, and other features.
Types of eCommerce Product Photography
There are two types of product images that you can use across all your marketing channels:
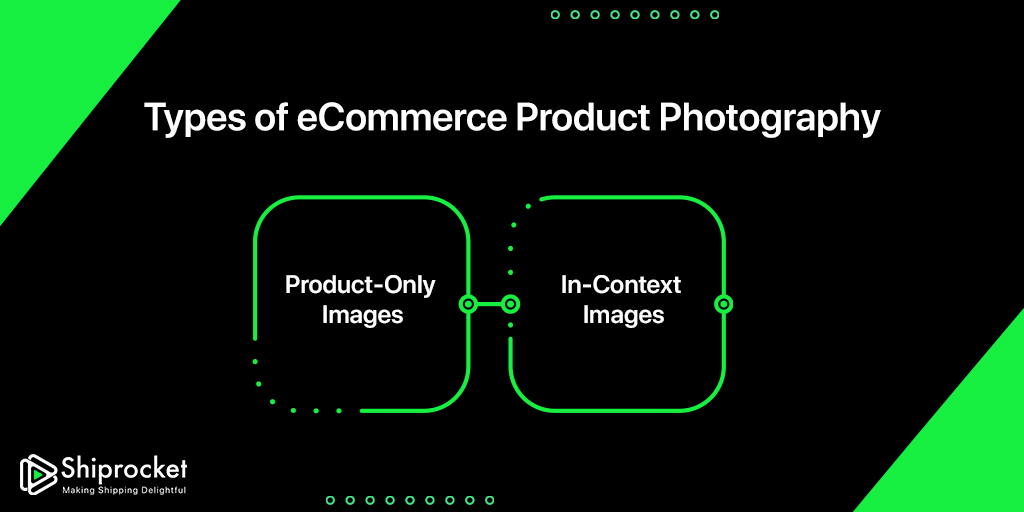
- Product-Only Images
The first type of product photography is clean-cut product-only images on white background. These include featured images in a variety of angles to showcase the product in the best way possible. The white background helps create a consistent look across the product line.
- In-Context Images
In-context images are shot with the product being used in the intended environment. They may include complementing products and are well-suited for social media, emails, and blog posts.
Essential Equipment for Product Photography
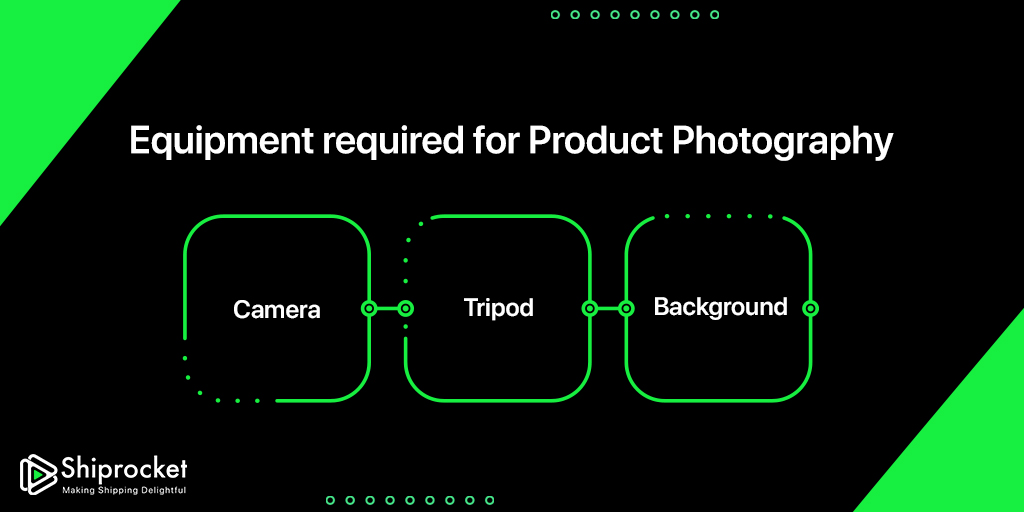
Investing in professional photographers might not be an option for small businesses as it is expensive. However, with the evolution of technology and the invention of amazing smartphone cameras, taking pictures with high resolution and impeccable aesthetics is no longer hard. Here are some equipment that you will need to take pictures like a pro:
- Camera
Camera, of course! You don’t require any professional camera. While clicking products photos with professional cameras is fantastic, it’s unnecessary to spend so much money on the camera.
If you own a smartphone with a good camera, it’ll work perfectly well. Remember, the camera doesn’t click pictures, but the photographer does!
Just click a few pictures and see the results. As per your requirement, you can change lighting and exposure, and even edit the pictures after clicking them.
- Tripod
Tripod provides stability to the camera and reduces the blur effect on the picture. Also, sometimes you need to set the highest aperture to let the minimum light come in through the lens. But, in order to click an image with the right exposure, you would want to keep slower shutter speed. In this scenario, the tripod comes very handy to reduce the blur effect.
- Background
Most of the product photographs have a white background to let the product come out nicely. Poster board and white sweep can be your best go-to options for white background.
- Shooting table
A chair sweep is something that you will require while shooting quality images of your products on your phone. You can easily purchase one online, but if you want to take the homemade route, you can make a chair-mounted sweep by simply using a roll of white craft paper.
To make it, all you have to do is push back a chair against a wall and tape up some white craft paper against it. It will allow you to make a transition between the horizontal and vertical planes. You can then position your product on this sweep. In case you have things that are too large for a chain, you will be required to invest in a stand sweep.
- Light tent
Another simple option that you can choose as a backdrop is to make your tent for lighting reasons. It is called a lightbox. It mainly consists of a wireframe that has translucent walls forming a box. It distributes light evenly around the focus object. You can either choose to buy one or make one out of simple products available at home.
- Studio lighting
You can use natural light if you do not have the money to splurge on studio lighting equipment. However, if you do, you will be able to shoot at any time. All you will need is a set of simple softbox light setups. They will help you soften the shadows. You can position these lights as per your need while shooting from different angles. They help you get consistent looks of your product and allow you to showcase all its features.
- Mobile grip
A high depth of field will be needed if you want a crisp-looking picture of your product. The high depth will allow you to gain sharpness in photos and for that, your camera will need to be set to a low aperture or fully zoomed mode. It might be hard to get a shot with full clarity while holding your phone as stability becomes an issue. Hence, investing in a mobile grip will give you the sturdiness you require.
- Photo editing software
Re-touching your images is almost a mandate today. Despite capturing some of the first images, you can get a better final image if you re-touch them. They make your pictures look professional and consistent in quality, positioning, and lighting. A simple photo editing software should do the trick. There are several tools available today with different features, you can choose the one that suits you best.
13 Best Product Photography Tips from Experts
Between launching your website and crafting SEO-friendly content, we suppose you won’t have time to study the basics of product photography. But don’t worry, we have done the work for you. Here are a few tips that we have collated especially for you.
- Don’t be afraid to use your smartphone’s camera
You don’t need to invest in a high-resolution professional camera. You can simply take advantage of your smartphone’s camera. Today’s latest smartphones have powerful lenses and flexible settings that enable you to streamline your shots in different types of lights and environments. iPhones and Google Pixel phones allow you to take pictures like they are taken with professional cameras.
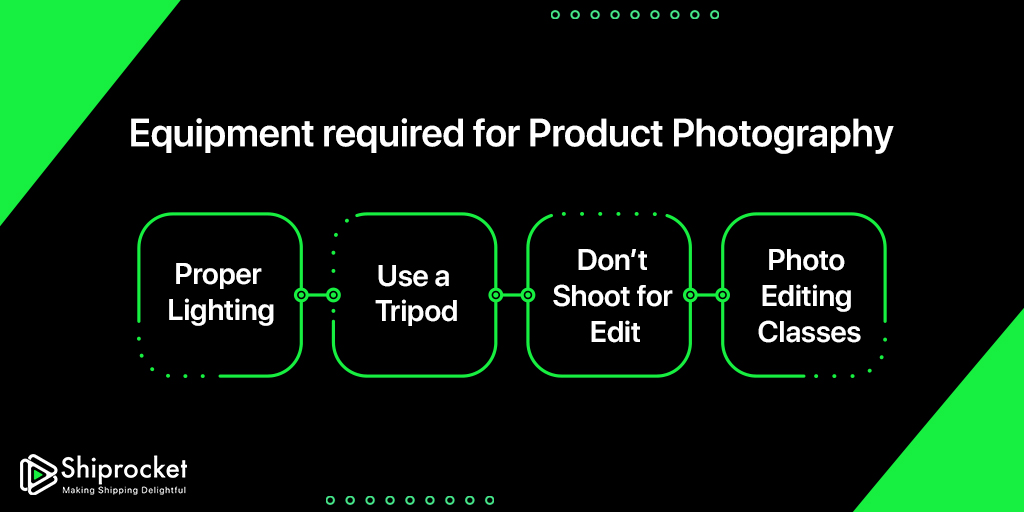
- Proper Lighting
Photography is all about capturing light! Without light, nothing would be clear – neither your product nor the background. There are two lighting options for product photography – natural lighting and studio lighting. The product, purpose, and platform will help you decide the lighting setup you need to use.
Natural lighting is a good option for products such as edible items, clothing, and people. Notably, natural-looking pictures work well on social media channels like Instagram. If you are clicking the picture inside a room, you can leave all windows and doors open to let maximum natural light come through. At the same time, if you are photographing outside, you will have plenty of light. However, you might need some light controlling equipment such as light reflector to maintain the right exposure.
Now, if you sell products that are generally used indoors, such as cookware, then artificial lighting setup is preferable. You can build a simple studio with artificial lights such as CFL bulbs and LED studio lights to help you with the lighting aspect of your product photography.
- Use a Tripod
Tripods might sound unnecessary to you, but they are imperative. They play a significant role in the clarity and quality of the product. Notably, tripods are easy to use, as well.
Tripods provide stability to the camera to avoid clicking pictures with shaky hands. So, using tripods will make sure there is no blur, which is a critical aspect of product photography.
Whether you are using a DSLR or a mobile camera, tripods don’t come very expensive. They are available in varying price range and cost as low as just Rs. 500.
- Don’t Shoot for Edit
Don’t click a somewhat okay picture and leave the rest on editing. Sometimes, it takes more time to edit just because the first draft was sloppy. If you click some not so okay pictures and leave the rest of the work on Photoshop, nothing significant is going to happen. You need to think about your strategy again.
This doesn’t mean that you should not edit the photographs. Editing is a skill, and it can undoubtedly create a visible impact on the quality of the picture. But again, if editing takes so much of time and effort, clicking a fresh picture makes much more sense. Editing must only include a few touch-ups to enhance the overall beauty of the picture. But if you need to crop out the product from its background completely, then it is a problem.
When you shoot your photographs, try to not shoot for the edit. Try to click as many pictures as you can. With this, you would require minimal editing, that too just to enhance the piece of art without changing it completely.
- Photo Editing Classes
While we suggest minimal editing, it’s still a prerequisite that you know the basics of editing. You must know making some small edits like tweaking contrast or saturation. The problem with editing is that there are so many things that you can do. And it can become overwhelming for you if you do all these without any formal training.
Especially if you are using photo editing software like Photoshop, you would want to know its basics to use it effectively. You can simply head towards YouTube if you don’t wish to spend bucks and enroll yourself for a course. Thousands of free tutorial are available on YouTube that can help you learn Photoshop.
- Use a sweep or portrait mode to emphasise the product
There is no one-fits-all solution to position your product, light, and background. They can be interchanged to meet your needs and aesthetics as well. The key is to not choose a background that is easy to create but one that helps you perceive your product. It should sell the experience of your product. Although a white background can seldom fail you, a more dynamic background in the real world can help you sell your product better.
- Set up your background
Backgrounds can be anything that you desire. But choosing a background must be done after serious consideration as it will show off your product. It must compliment your product such that it doesn’t steal focus. You can choose to have a simple white background or even shoot in the real world using dynamic backgrounds. Lighting is another crucial element. It should ensure that the imperfections of your background are not visible while taking the shot.
- Set up your product
Setting up your product might take a little bit of thought. You must choose a position that flatters the features of your product and showcases it in the most appealing way. You need to take your time and evaluate the position in which you want to showcase your product. Even the slightest changes in the angle of your item can result in significant changes in your images.
- Set up the reflector card
The most important aspect is the lighting. Adjusting it to suit your needs to gain consistency is crucial. You can simply do this with the help of a light modifier which can even be a white card. The light reflects off this card and fills up the shadows making them more softer. Hence, positioning your reflector card is important to how your image turns out.
- Pick the right camera
This is a no-brainer. You must choose the appropriate camera to shoot the image but this does not mean that you must pick out a DSLR. You can choose the right smartphone and take equally professional shots of your products. You must just ensure that the background, the light, and the camera settings are all in sync to take that perfect image.
- Take multiple pictures and evaluate
Taking multiple shots will give you a set of images to choose from. Take some time to look at the shots you have taken and analyse them. You will be able to see what works and what does not when you have a closer look at the shots. Upload the images onto a bigger screen to give yourself better visibility and consider the adjustment you need to make to get that perfect shot.
- Retouch and adjust your pictures
Once you have taken and chosen your final shots, it is time to do a little retouching to help them gain a professional look. When you correctly take a shot of your product, the product must be exposed properly and your background should stay subtle behind. With the use of simple retouching software like Adobe, you can eliminate flaws that you see on your screen and give your pictures a professional look.
- Optimise images for your website
When you are an online seller, search engine optimisation (SEO) is everything you will need to gain more visibility. The loading speed of your eCommerce website is crucial for people to get a good experience from using your platform. Hence, optimisation is required to minimise this burden. Image quality and optimisation provide a fine balance and hence you must try to get an image larger than 200 KB. You must aim to shoot the smallest image possible. When you properly optimise your product pages with photos, they are likely to receive 95% more organic traffic than those without.
With these simple tips and tricks to click beautiful product pictures, you can make a significant impact on your customers and on your sales too!
How Product Photography Increases Conversions?
Shopping online is all about how the product looks and what its image says to your potential buyer. 75% of online shoppers rely on product photos to make purchasing decisions. Unless you want to miss out on 75% of your potential customers, you’d want to use your product photos effectively.
Here’s how product photography increases conversions:
- High-quality images enhance every buyer touchpoint
As the pictures are the make-or-break criteria of a sale, they must be given the most importance. The interaction a buyer has with your brand is the visual aids that you provide. Hence, you must include these product images in your marketing strategies, packing, etc. With the perfect combination of individual shots, group shots, and lifestyle shots you will be able to improve your brand engagement leading to greater sales.
- It provides visual cues and builds trust
Online shopping is all about building trust in your viewers. This is what converts your viewers into paying customers. You can only build trust when you can showcase your products well. You can display them through good-quality visuals.
- Product images are a key element of branding
A logo on your website or a simple packing label is not what branding is about. It is how you embed your brand into every element of your business. With product photography, you will have an avenue to narrate the story of your brand through all your pictures, social media posts, and updates via messages, emails, etc.
When to Consider Hiring a Professional Product Photographer?
There are several reasons for you to consider hiring a professional photographer. These can vary based on the size of your business, your investment, and more. Here are some instances that may demand the need to hire a professional:
- High-resolution photos
You will not necessarily have the equipment and software that you need to use for product photography unless you are a professional. The standard of the equipment and elements you use will determine the quality of the image you produce. When you hire a professional, they use the best of the best to give you the perfect shot. But, why do you need high-resolution photos? It’s because high-quality product photos had a 94% higher conversion rate than low-quality photos.
- Consistency and experience with photography
The editing and retouching is always a challenge for a novice. Unless it is something that you have mastered over time with experience, it will not be the easiest task for you. You will lack the consistency and quality that a professional will give.
- Skilled in professional photo editing
When you decide to hire the same professionals you have worked with before, they will give you the same quality of work if not better. This ensures that all your branding and social media pages are equipped with the best images.
Conclusion
Product photography involves clicking pictures of items with the goal of showcasing, advertising, and emphasising particular aspects of the product. It is most frequently used these days on social media and eCommerce sites. Producing superior product images is a challenging task. To generate an excellent product photo, you will need the right equipment and know-how of photography.